How to Install Dimmer Switch in Your Lighting Setup
Are you struggling to figure out how to install a light dimmer switch? You’re not alone. This concept can be hard to get a grasp of, especially if you have no previous experience. Typically, dimmer switches can be divided into two categories:
- 1 Way Dimmer Switches
- 2 Way Dimmer Switches
Here at LEDSAVE, we’re experts in all things lighting-related. If you want to learn more about dimmer switches, please keep reading!
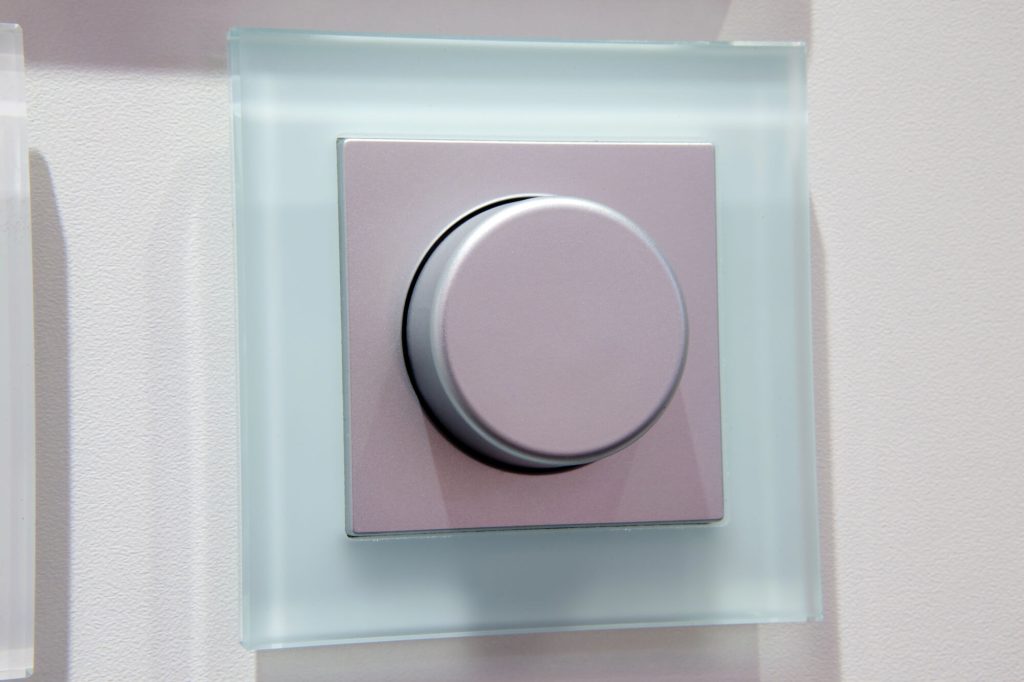
Understanding Dimmer Switches
Before we dive into how you can install a light dimmer switch for your setup, it’s important to understand what they are and how they differ from regular switches. As their name suggests, dimmer switches are meant to allow you to control the intensity of the light in a specific area.

One way dimmer switches allow you to control the intensity of the light. 2 way dimmer switches, on the other hand, also come with push on/off switches. This gives you more control over your lighting, offering more than just on and off functions.
Tools and Materials Required
Installing a light dimmer switch for your setup can seem challenging, but with the right information and tools, the job can be made simpler. Some of the tools you’ll need are:
- A flathead and a Phillips screwdriver
- A voltage tester
- Wire strippers
- Electrical tape
- Needle-nose pliers
- A dimmer switch unit
- Wire connectors
- A wall plate
- Safety gloves
Most of these tools you should already have in your home. But if you don’t you shouldn’t skip getting them, as many can contribute to your safety.
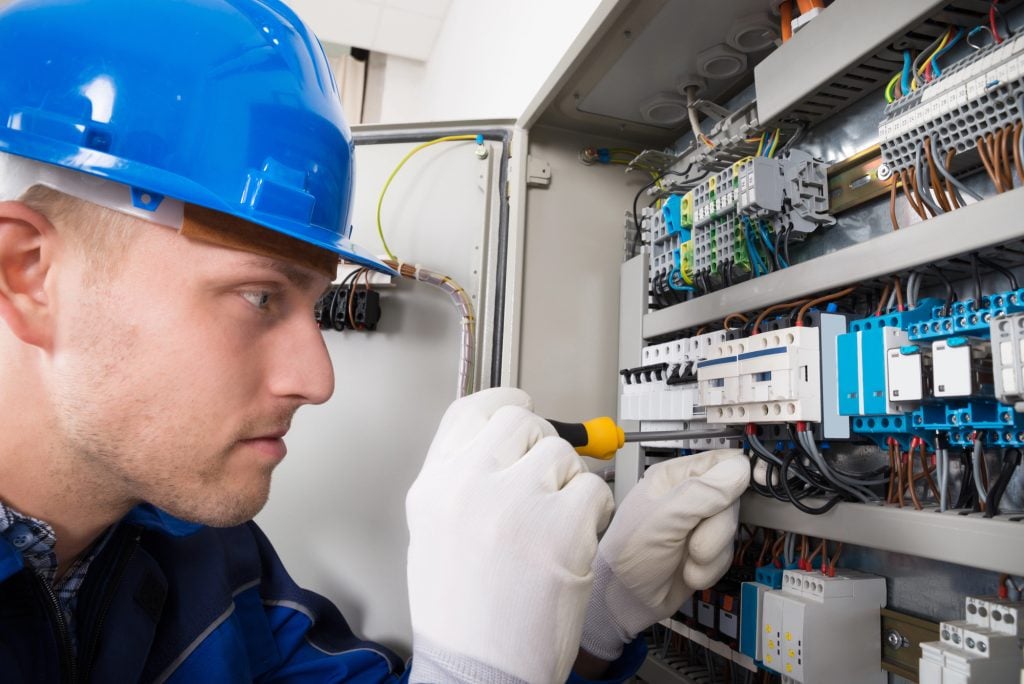
Safety Precautions
The first thing you want to do when you’re trying to install dimmer switches in your lighting setup is to shut off the power at the breaker. Before diving in, you should double-check with a voltage tester that the current is no longer flowing.

You should also ensure that your tools have proper insulation. It might go without saying, but you should also never work with your hands wet.
Step-by-Step Installation Guide
Now that it’s time to install your dimmer switch for your lighting setup, here are all the steps you must follow. If you’re unsure at any point, please refer to the instruction manual included with your product.
Turn Off the Power
As stated earlier, the first thing you want to do is ensure that there’s no more power running to the dimmer switch installation location.
Remove the Existing Switch
To do this, you’ll have to unscrew the faceplate to remove the switch. You’ll also want to test the wires with a voltage tester.
Identify the Wiring Configuration
In most cases, you’ll see a line wire, a load wire, a ground wire, and sometimes a neutral wire as well. You’ll also have to determine whether the configuration is single-pole or 3-way.
Disconnect the Old Switch
Taking a picture of the wires before disconnecting them can go a long way in making things easier. Once you’ve done that, carefully disconnect the existing wiring to make room for the new dimmer switch.
Connect the Dimmer Switch
Follow the labels you wrote and match the wires. You can always refer to the manual included with your new dimmer switch. Ensure the ground wire is properly connected to avoid issues. You can also use wire nuts to get a more secure connection.
Secure the Switch to the Wall
Once everything’s properly connected, tuck the wires in neatly for a proper installation. Then, align the new dimmer switch and secure it by screwing it onto the wall. When you’re certain everything’s in place, install the faceplate.
Restore Power and Test
Go to your circuit breaker panel and restore power to the part of your home where the dimmer switch was installed. Test it and make sure it works as it’s supposed to.
Troubleshooting Common Issues
In case you run into any issues, such as flickering, weak lighting, or signs of a short-circuit, kill the power and check the wiring again. Any of these signs could mean that something was not connected properly. Double-check and restore power to see if everything’s working normally.
Pro Tips
To ensure your new dimmer switch works optimally, there are a few things you can try. First, make sure you’re using dimmable bulbs, as not all bulbs are designed to accommodate lighting variations. Check the wattage rating of your lights to prevent dim lighting or short-circuits. Considering a smart system down the road is also a great idea for greater home integration.
Should You Call a Professional?
Although installing a new dimmer switch doesn’t have to be extremely complicated, there are some hazards along the way. If you’re unsure at any point about the installation process, don’t risk your safety.
Call a professional should any doubts arise. No one likes to spend extra money installing a dimmer switch, but you can’t put a price tag on your safety.
Why Dimmer Switches Are Great
Dimmer switches can help turn your spaces from boring to interesting and cozy. By allowing you to control the amount of light in them, your living room, commercial space or office can breathe new life into them.
Just remember that you should always keep safety as a top priority at al times. Contact a professional should any doubts arise and make sure to read the instruction manual.
If you have any questions regarding our products, please do not hesitate to email us at enquiries@ledsave.co.uk, or give us a ring at 01652 638840. We’re open Monday–Friday, 9 a.m.–5 p.m. Please check out our contact page for more information.
Updated: 05-05-2025